Terraform Fundamentals and Your First Project
What You'll Learn
- What Terraform does, and how declarative infrastructure differs from scripts
- Providers, resources, data sources, and state, and how they fit together
- The core workflow:
init,plan,apply,destroy - A complete first project you can run on your laptop with no cloud account
- How to point Terraform at AWS or a local AWS emulator safely
Why Terraform Exists
Clicking through a cloud console doesn't scale: nobody can review it, repeat it exactly, or tell what changed last Tuesday. Shell scripts calling cloud CLIs are repeatable but not idempotent — run one twice and you get two load balancers. Terraform lets you declare the end state you want; it works out what to create, change, or delete to get there, and shows you before doing it.
Mental Model
You write configuration describing desired resources. Terraform keeps state recording what it created. On every run it compares configuration, state, and the real infrastructure, and produces a plan: the exact set of API calls needed to make reality match the configuration.
flowchart LR
    C["Configuration (.tf files)<br>what you want"] --> P{"terraform plan"}
    S["State<br>what Terraform manages"] --> P
    R["Real infrastructure<br>refreshed via provider APIs"] --> P
    P --> D["Plan: + create, ~ update, - destroy"]
    D -->|terraform apply| R
    D -->|records result| S
Core Concepts
| Concept | What it is | Example |
|---|---|---|
| Provider | A plugin that talks to one platform's API | hashicorp/aws, hashicorp/azurerm, hashicorp/google, hashicorp/kubernetes |
| Resource | An infrastructure object Terraform creates and manages | aws_s3_bucket, local_file |
| Data source | Read-only lookup of something that already exists | data "aws_ami" "ubuntu" |
| Variable / output | Inputs to and results from a configuration | var.region, output "bucket_name" |
| State | Terraform's record of managed objects and their IDs | terraform.tfstate |
| Plan | A preview of changes | terraform plan |
| Module | A reusable group of resources | module "network" |
HCL in Five Minutes
Terraform configuration uses HCL:
# A block: type, labels, and a body
resource "aws_s3_bucket" "logs" {       # resource type, local name
  bucket = "acme-shop-logs"             # argument
  tags = {                              # map
    Environment = "dev"
  }
}

# References connect resources and build the dependency graph
resource "aws_s3_bucket_versioning" "logs" {
  bucket = aws_s3_bucket.logs.id        # <TYPE>.<NAME>.<ATTRIBUTE>
  versioning_configuration {
    status = "Enabled"
  }
}
Because aws_s3_bucket_versioning.logs references aws_s3_bucket.logs.id, Terraform knows to create the bucket first. You rarely need to order things by hand.
Install
# macOS
brew tap hashicorp/tap && brew install hashicorp/tap/terraform

# Ubuntu / Debian
wget -O- https://apt.releases.hashicorp.com/gpg | sudo gpg --dearmor -o /usr/share/keyrings/hashicorp-archive-keyring.gpg
echo "deb [signed-by=/usr/share/keyrings/hashicorp-archive-keyring.gpg] https://apt.releases.hashicorp.com $(lsb_release -cs) main" \
  | sudo tee /etc/apt/sources.list.d/hashicorp.list
sudo apt-get update && sudo apt-get install -y terraform

terraform version
To switch between versions per project, use a version manager such as tfenv or mise.
Your First Project (No Cloud Account Needed)
This project uses the local and random providers, which create files and random values on your machine. Everything about the workflow is identical to managing real cloud resources.
terraform {
  required_version = ">= 1.10"

  required_providers {
    local = {
      source  = "hashicorp/local"
      version = "~> 2.5"
    }
    random = {
      source  = "hashicorp/random"
      version = "~> 3.6"
    }
  }
}
resource "random_pet" "server" {
  length = 2
}

resource "local_file" "inventory" {
  filename = "${path.module}/out/inventory.ini"
  content  = <<-EOT
    [web]
    ${random_pet.server.id} ansible_host=10.0.1.11
  EOT
  file_permission = "0644"
}
output "server_name" {
  value = random_pet.server.id
}

output "inventory_path" {
  value = local_file.inventory.filename
}
1. Initialize
init downloads the providers into .terraform/ and writes .terraform.lock.hcl, recording the exact provider versions and checksums. Commit the lock file; ignore .terraform/.
2. Format and validate
3. Plan
Terraform will perform the following actions:

  # local_file.inventory will be created
  + resource "local_file" "inventory" {
      + content         = (known after apply)
      + filename        = "./out/inventory.ini"
      ...
    }

  # random_pet.server will be created
  + resource "random_pet" "server" {
      + id        = (known after apply)
      + length    = 2
    }

Plan: 2 to add, 0 to change, 0 to destroy.
Read every plan. The symbols are + create, ~ update in place, -/+ destroy and recreate, and - destroy.
4. Apply
Applying a saved plan file applies exactly what you reviewed.
5. Run it again
That's idempotency: the desired state already exists, so nothing happens.
6. Change something
Edit length = 3 in main.tf and plan again:
  # random_pet.server must be replaced
-/+ resource "random_pet" "server" {
      ~ length    = 2 -> 3 # forces replacement
local_file.inventory changes too, because it depends on the pet's name. Terraform follows the dependency graph for you.
7. Inspect and clean up
Connecting to AWS
terraform {
  required_providers {
    aws = {
      source  = "hashicorp/aws"
      version = "~> 6.0"
    }
  }
}

provider "aws" {
  region = "us-east-1"

  default_tags {
    tags = {
      ManagedBy   = "terraform"
      Project     = "shop"
    }
  }
}
Credentials come from the standard AWS chain — never from .tf files:
aws configure sso                 # human users: IAM Identity Center
aws sts get-caller-identity       # confirm which account and role you're using
terraform plan
In CI, use OIDC federation to assume a role rather than long-lived access keys; see Testing and CI/CD.
Practicing AWS Locally With LocalStack
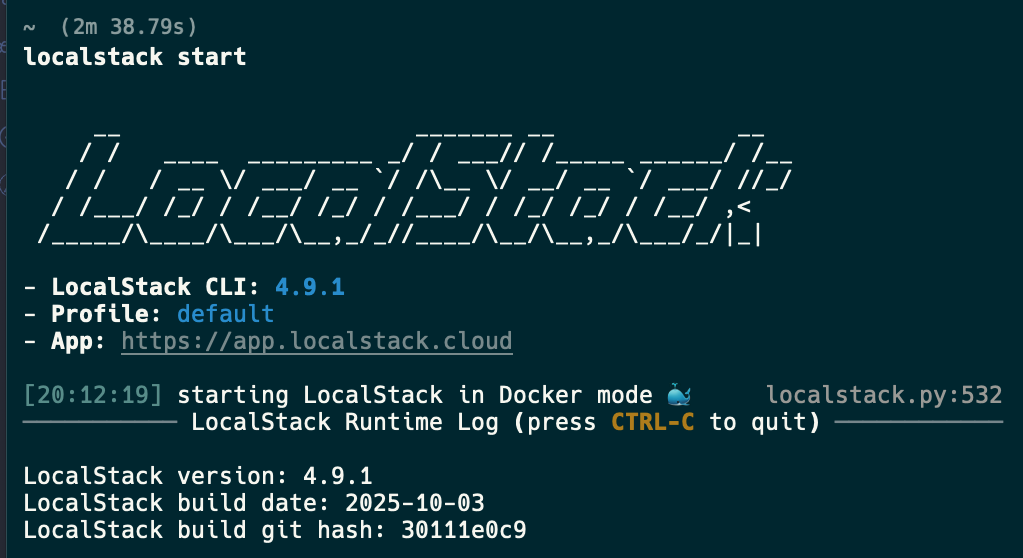
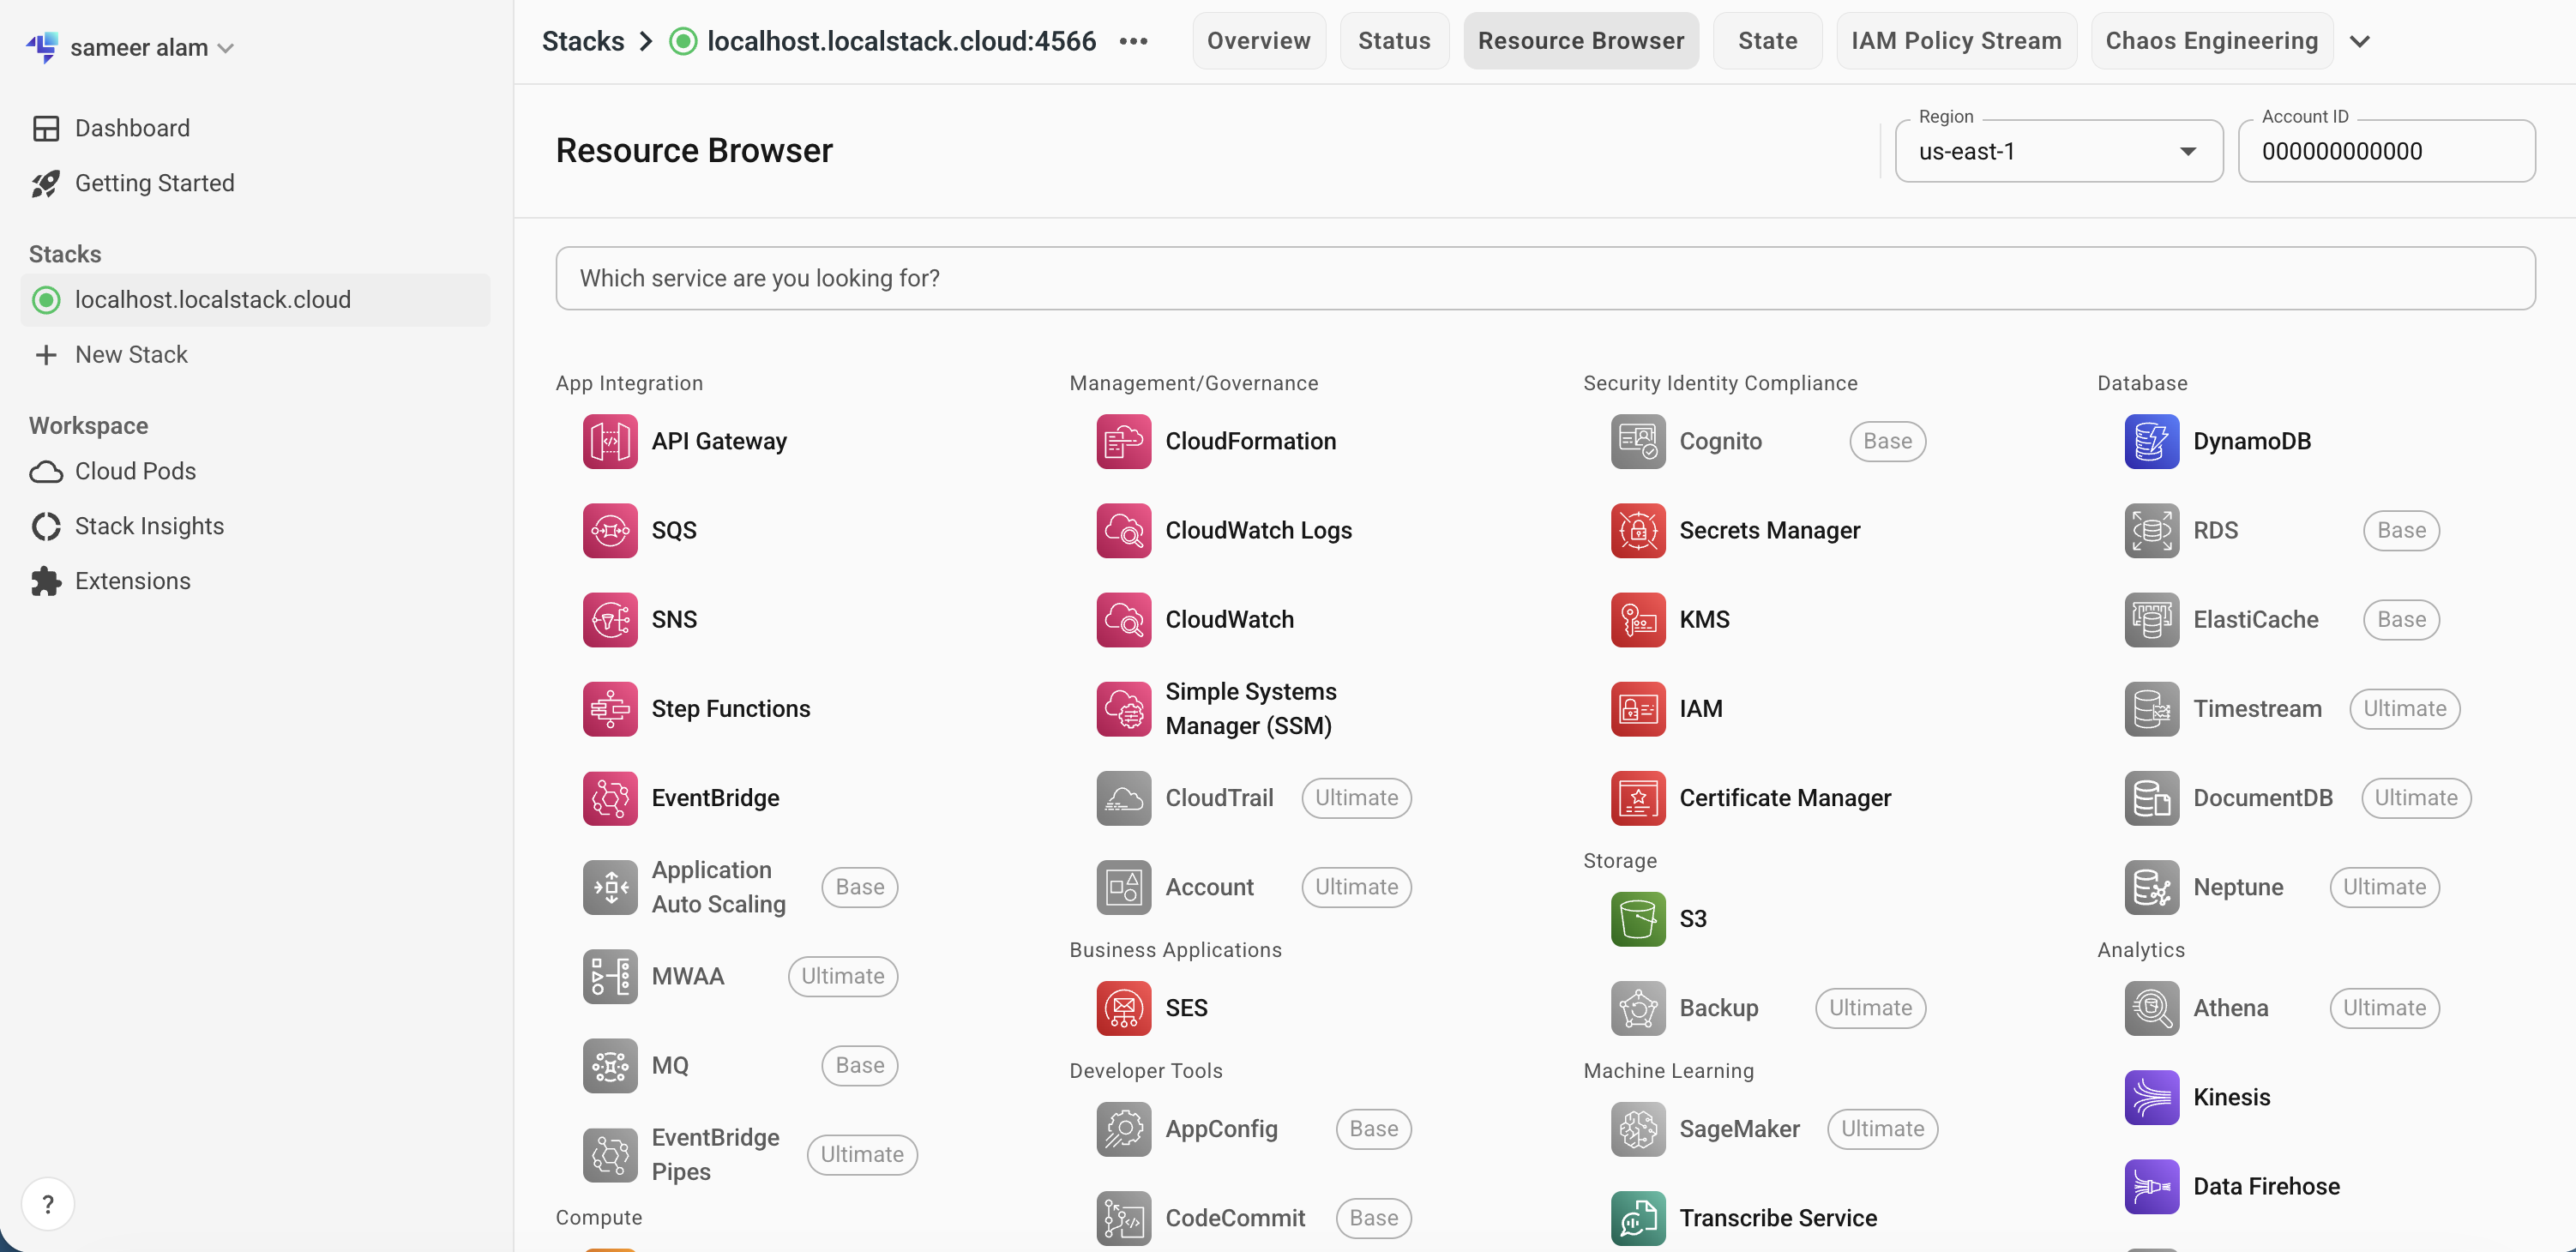
LocalStack emulates many AWS APIs on your machine, which is useful for practice without cost:
LocalStack now requires an auth token
Since March 2026, the localstack/localstack image is a single image that requires a LOCALSTACK_AUTH_TOKEN to start. A free tier is available; create an account, copy your token, and export it before starting LocalStack.
services:
  localstack:
    image: localstack/localstack
    ports:
      - "127.0.0.1:4566:4566"
    environment:
      LOCALSTACK_AUTH_TOKEN: ${LOCALSTACK_AUTH_TOKEN:?export LOCALSTACK_AUTH_TOKEN first}
    volumes:
      - "./localstack:/var/lib/localstack"
Point the AWS provider at it:
provider "aws" {
  region                      = "us-east-1"
  access_key                  = "test"
  secret_key                  = "test"
  skip_credentials_validation = true
  skip_metadata_api_check     = true
  skip_requesting_account_id  = true
  s3_use_path_style           = true

  endpoints {
    s3  = "http://localhost:4566"
    sts = "http://localhost:4566"
    ec2 = "http://localhost:4566"
  }
}

resource "aws_s3_bucket" "demo" {
  bucket = "demo-bucket"
}
An emulator is great for learning the workflow; always test against a real sandbox account before production, since emulated behavior can differ.
Terraform and OpenTofu
After HashiCorp changed Terraform's license in 2023, the community forked it as OpenTofu (tofu CLI), governed by the Linux Foundation. The language, providers, and workflow on these pages apply to both; each has added some features the other doesn't have. Pick one per organization and pin its version.
Common Mistakes
- Hardcoding credentials in
.tffiles or committingterraform.tfvarswith secrets. - Running
terraform applywithout reading the plan — or applying a fresh plan instead of the one that was reviewed. - Not committing
.terraform.lock.hcl, so teammates and CI resolve different provider versions. - Committing
terraform.tfstateto Git; it contains secrets and conflicts constantly. Use a remote backend — see State and Remote Backends. - Making changes in the console to resources Terraform manages, then being surprised when the next apply reverts them.
Interview Questions
- What's the difference between declarative infrastructure as code and a script that calls cloud APIs?
- What do
init,plan, andapplyeach do? - Why commit
.terraform.lock.hclbut notterraform.tfstate? - How does Terraform decide the order in which to create resources?
Next
Continue to Variables, Outputs, and Locals.